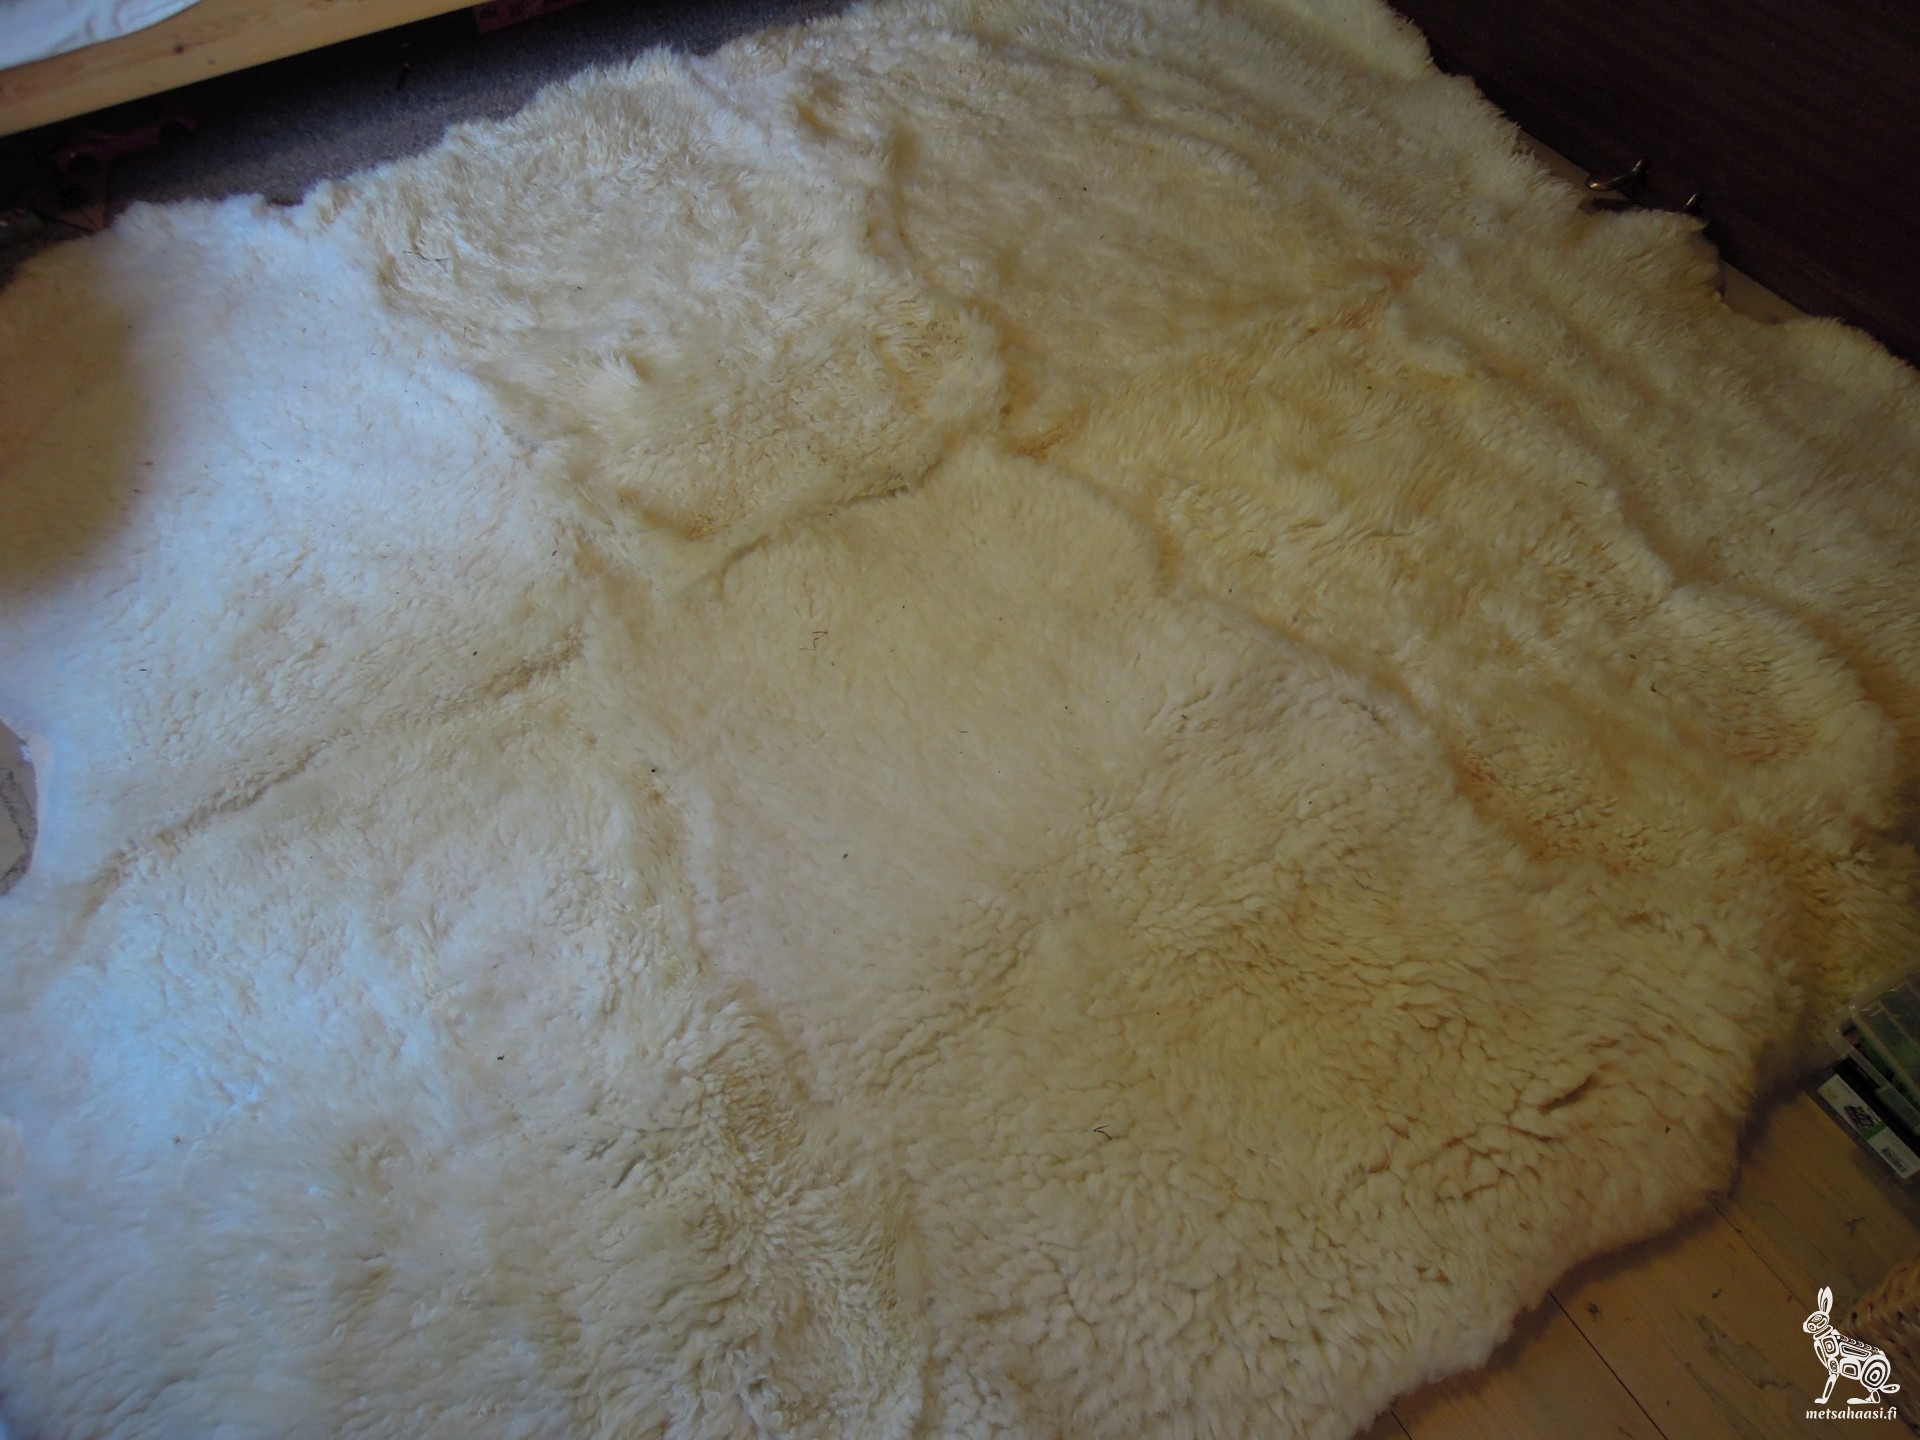
A huge sheepfur blanket with 2,1 x 2,1 meter of core usable space!
A. The Project
After four winters at 62° North, we've come to appreciate a good blanket.
When the thermometer outside hits -30°C, the temperature inside doesn’t stay cozy for long. It slowly drops through the night, and sometimes we wake to 8°C in the kitchen. First task of the morning: get the fire going, and put the coffee on the stove.
Our old blankets have grown tired. What used to be a thick down cover — lovingly called the “cloud blanket” — had become a thin, lumpy shadow of its former glory. The feathers were gone, and the two-blanket system made it hard to stay close to my wife during the night. We were yearning for one undivided blanket: heavy, warm, durable, and beautiful.
That’s how the idea for the Viking Bedroll was born.
We chose sheepskins for their warmth, durability, and maintainability. You can throw them outside and give them a good brushing. They don’t trap synthetic dust. They don’t care about dog hair. The fur can be shaken out, the hide wiped clean. They’re functional — and elemental.
And so I sat down, knife and thread in hand, to make a real fur blanket from scratch. Not to perform history, not to reenact anything — but to use it. To sleep warm. To carry forward something that works.
The name Viking Bedroll Deluxe comes from that spirit: not fantasy, but function rooted in memory. Simple tools. Raw materials. No machines. A stitching rhythm older than I am. If the Vikings could do it, we can too — and our hands may still remember how.
So cozy!
B. The Material
- 10 sheepskins
You will need about 8 sheepskins for a full size blanket. Depending on the size of the sheepskins. May I suggest you get 10? Better to have some extra. They are not made equal and quality varies quite a bit. Then you can choose the best ones for your blanket and make something else out of the remaining sheepskins. Because you will not stop at the blanket once you have licked blood (from your bleeding fingers). This is the most expensive part of the project, except if you tan the sheepskins yourself. You might even get the skins for free from a local butcher. They usually just throw them away. But I would not recommend starting with that. How do I know? Because I tried just that and it was an utter failure. The weather was too humid and my skill level too low to do all the right steps in the right timely order. I ended up with a compost pile of rotten sheepskins. I might revisit that in the future.
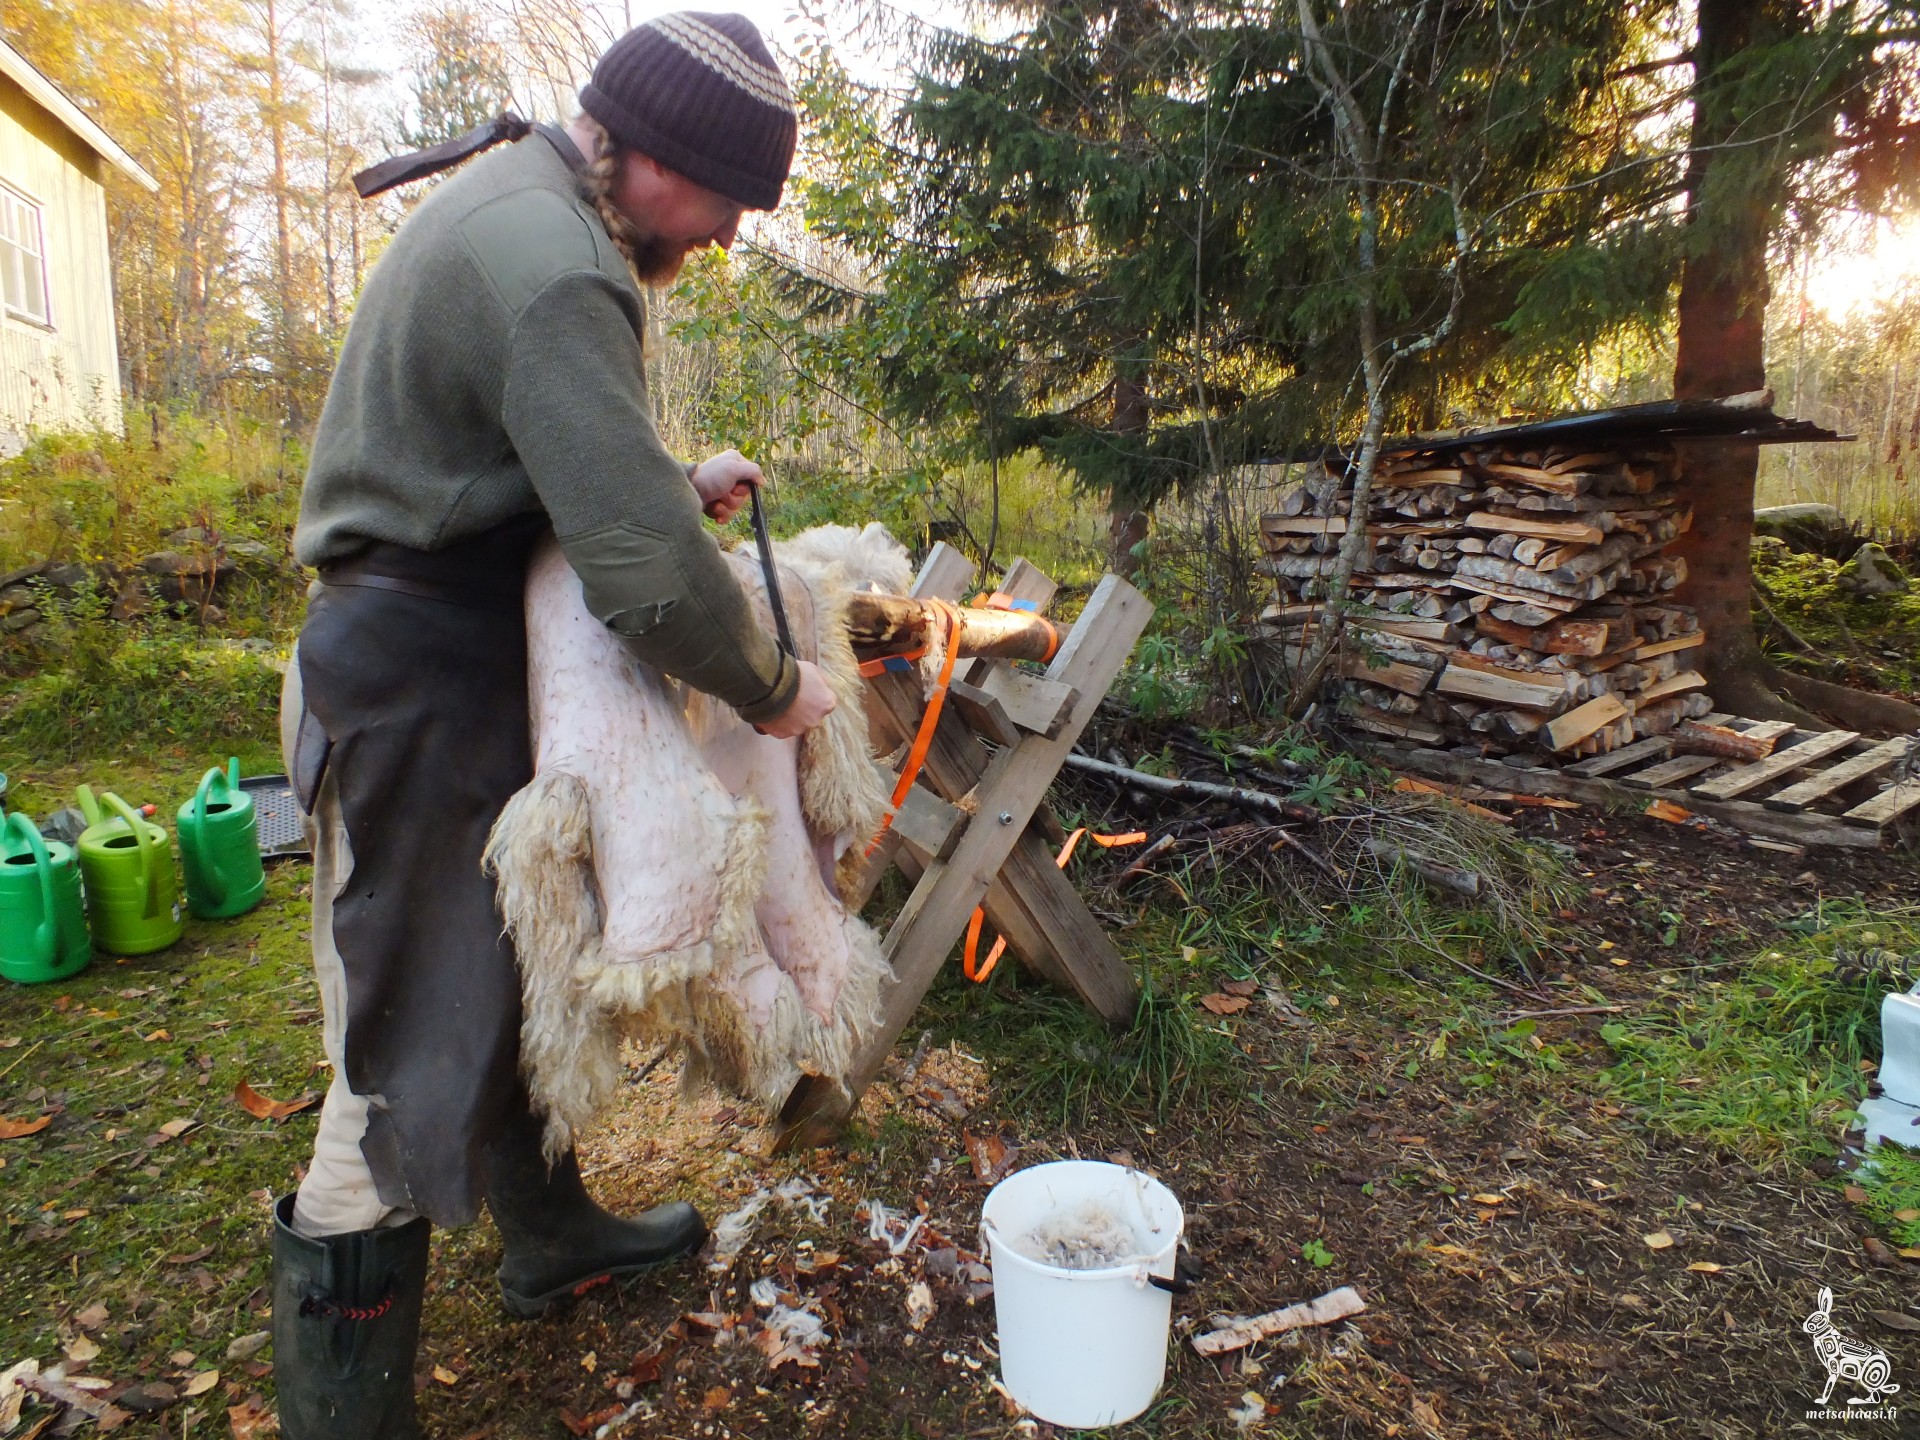
That didn't work so well... Just buy some nice furs if you can.
C. The Tools
Fortunately you don't really need a lot of tools and they won't break the bank. Just imagine the Vikings sitting in their longhouse in the deep of winter. Fire crackling. Stitching away with basic tools. Here is what I used:
- Very Sharp Knife (Box Cutter Knife with fresh Blade will do) to cut the shapes of the skins.
- 2 straight saddle maker needles with a blunt tip to sew your skins together.
- An awl with a round point to create the holes for the needles to go through. Do NOT use a diamond shaped awl. The latter will create cuts in the leather that widen under tension and your seems might tear. Also do NOT use the chisels from your leather crafting set to pre punch the holes like you would with your veg tan leather. The chisels' slits are too long and close together creating a perforated tear line. Your seams will rip apart under very little stress. Trust me I tried it. The only thing that works to make your holes is a round pointed awl. Get a good one. You will use it a lot.
- Linen thread with a 1 mm thickness. This is a staple in leather crafting supplies and you can get a big 250 m roll that will last you for many projects to come. Do not use anything less than 1 mm thick thread. Thinner threads will cut through your skins when you tighten the seam. And yes trust me again, I tried 0,6 mm as well. Please also avoid polypropylen threads. Use real linen if you can. I found it to always be a good idea to stay within the nature of the main material you are working with. If your fabric or leather is natural, then use natural thread. If you work with polyester blends then use a polyester thread. But it's better not to touch polyester at all.
- A block of beeswax to apply wax to your thread. A must. This makes working your thread much more pleasurable and it makes it a lot more durable.
- Plenty of small clips to hold your seams together while you stitch.
- A pencil to mark your cutting lines. Try different hardnesses to find one that works on your sheepskins.
- A long straight edge or piece of straight board to mark a straight centerline.
- A good music collection to endure the endless hours of stitching.
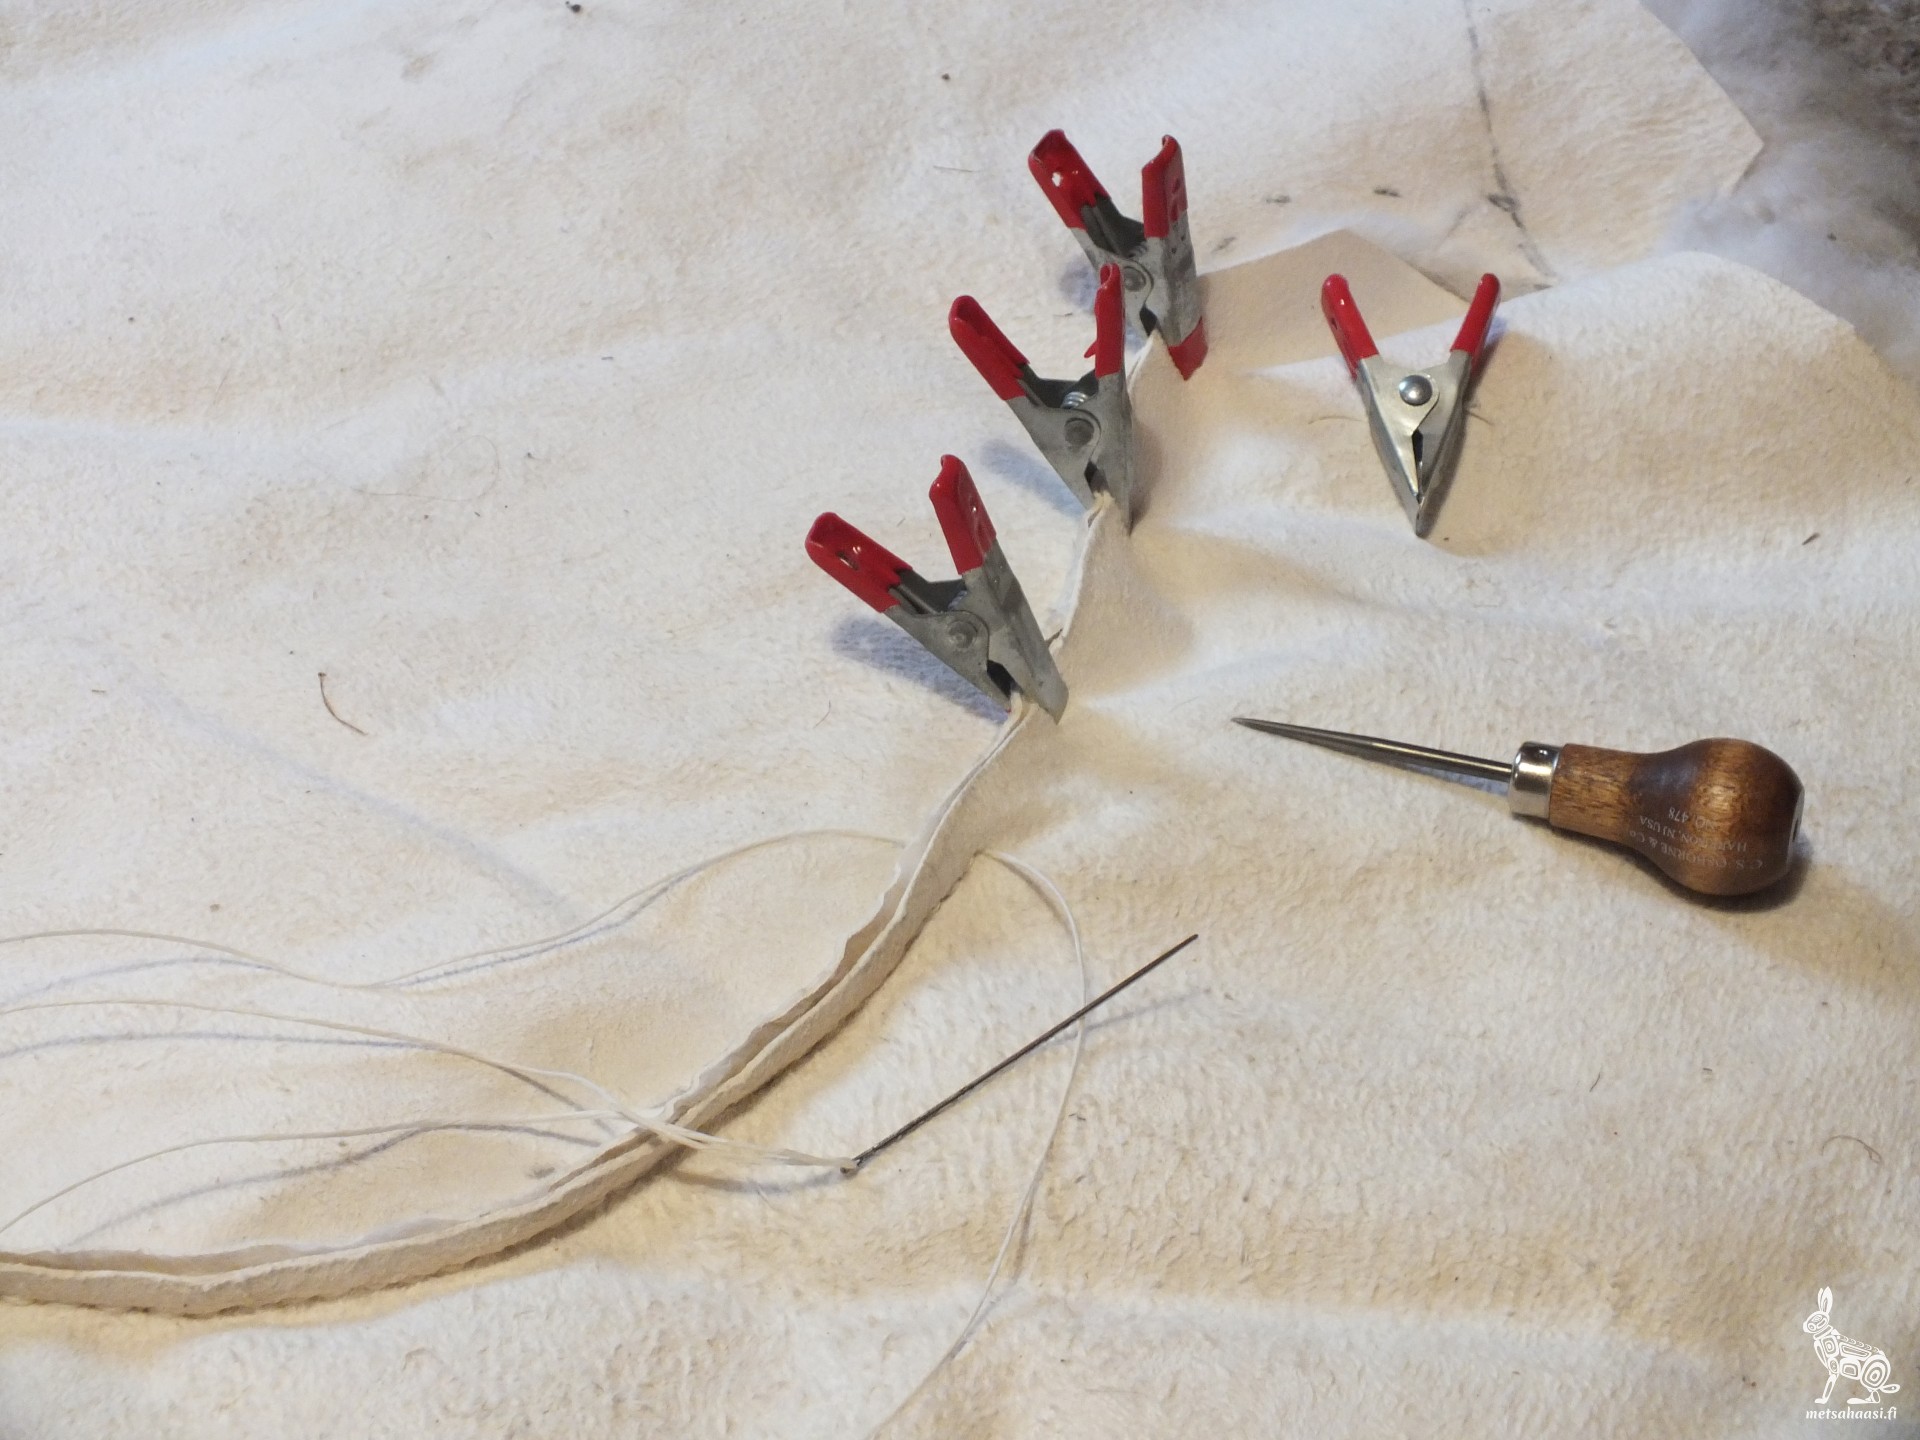
Some clamps, an awl, needle & thread.
D. The Process
Having a pile of 8 sheepskins and figuring out how to turn this into a blanket can be intimidating, but my process is quite straightforward:
- Arrangement
Lay them out furside up and arrange them left and right from the centerline. Imagine the sheepskins having a somewhat trapez like shape with the short end being the neck line. You alternate them. First the neck line towards the centerline, then the bottom line, then the neck line again and finally the bottomline again. 4 skins on each side of the centerline. Move them around, rearrange until it looks smooth and you have good overlap everywhere. Once you are happy with your layout, move to Step 2. - Centerline Seam
Turn the skins around with fur side down. Make sure to keep the layout intact when turning. Lay them nicely down with good overlap. Then draw the centerline and cut off the excess. Now you start stitching all furs together along the centerline. I recommend using a saddle stitch for this, because it is the strongest stitch I know and it will hold your blanket together even when you dream about raiding your enemies village. - Side-matching seams
You need to create a matching seam between the overlapping furs. This is the hardest part of the whole project but when you are finished you will have the hang of it. Now this is where art and craft meet. The way I do this is, first I mark all the bald spots that I will definitely cut out. To do that I grab the skin and feel the edge of the fur with my fingers underneath. Then on the upper skin side I trace the edge of my fingers through the skin with the pencil.Disclaimer / Interlude
After marking the bald spots I fold over the two furs I am working on to see which parts are nicer to decide what I want to keep and what I can cut out to create a matching seam. This is the hardest to explain part and you might have to find your own method for seam matching. Here are a few principles that I used:
You need to let your perfectionism wait outside the door with a coffee and some distracting music. You will notice very soon that the furs do not like to lie down nice and flat so you can trace the shape from one fur onto the other. They like to spring up and move about. You will have to aim for good enough and trust your eye.- Always create graceful curves, never sharp bends or even corners. This will make stitching a lot easier and look more beautiful.
- If you are unsure cut off a little bit at a time and take your time matching the shapes. You can always cut off a little bit more but adding it back in, well that takes some stitching.
- Really cut out the bald spots even if you have to insert a small patch afterwards. The extra effort is worth it.
- Filling Gaps
The last step is optional: Go around the edges of the blanket and use your scraps to fill in gaps. This will give a straighter edge and more usable blanket space to keep yourself and your lady warm.
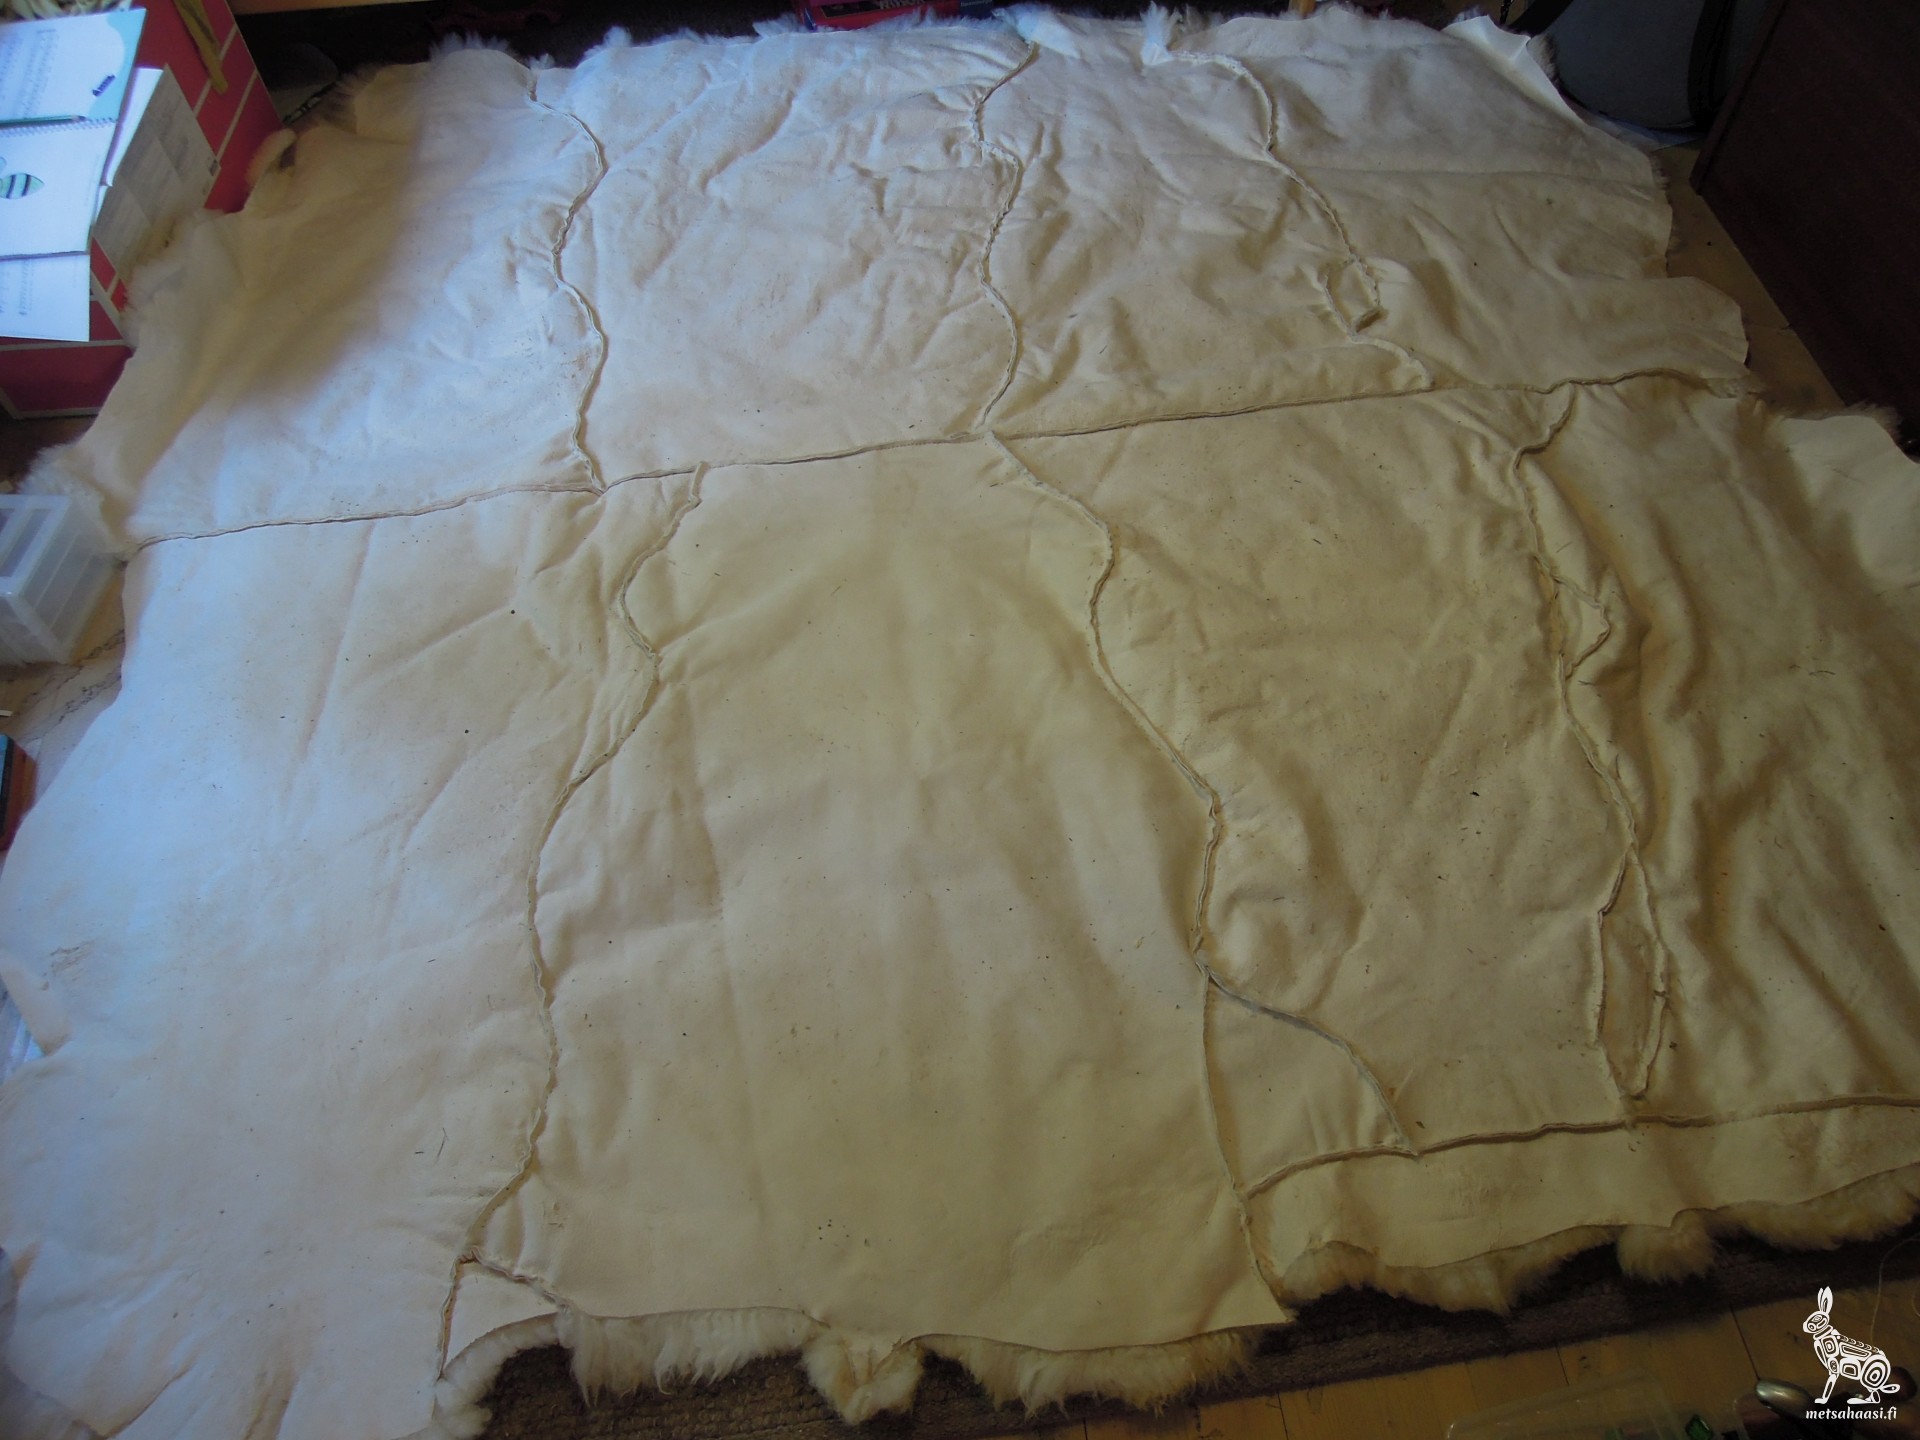
Note the centerline and alternating trapez-like shapes.
E. The Techniques
The devil is in the details. That’s why this section takes a closer look at the practical techniques that brought the Viking Bedroll to life:
The Viking Saddle Stitch
This is the strongest and simplest stitch I know. All you need is two needles. You perform what is essentially a running stitch from both sides, alternating the needles through each hole. I aim for a seam allowance of about 7–10 mm, depending on how strong the skin is at any given spot — some areas are thinner than others, and you’ll want to leave a bit more margin there. For hole spacing, I shoot for 6–8 mm.
If the holes are too close together, you’ll create a perforated tear line that can easily rip under tension — and you’ll also waste precious time. Keep it clean, strong, and evenly spaced.
Thread Math Without Measuring
Here’s a quick and dirty method to estimate your thread:
Take the length of the seam, measure it out with your thread, and then multiply that length by four. That’s the amount of thread you’ll need.
But be careful not to go too long — excessively long thread is hard to handle, tangles easily, and will wear down from being pulled through leather over and over again. I recommend breaking up long seams, like the side of a full sheepskin, into two or more thread lengths. This makes sewing easier and avoids mid-seam disasters.
The Stitcher’s Rhythm
Start by brushing out the fur around the seam with your awl — you want a clean path so you don’t trap too much fur in your stitches. Align the skins and hold them together with small clips or clamps.
Then the rhythm begins:
- Punch a hole with the round awl
- Thread the needle through and pull halfway
- Punch the next hole
- Pass both needles through from opposite sides
- Pull gently tight — not as hard as with vegetable-tanned leather
- Repeat
Work section by section. Remove the next clamp, brush the fur again, and keep going. After a few hours of this rhythm, your hands will know the dance.
Tip from the floor:
Don’t worry too much about getting the hole spacing perfect — just eyeball it and get stitching. By the time you reach the end of this project, your hands will have learned the rhythm, and your stitches will be spot on. You’ll probably punch somewhere between 1,200 and 1,500 holes, which makes this a perfect beginner’s project. It’s less about perfection and more about building skill through repetition.
The Beeswax Ritual
Beeswax makes everything better. Take your linen thread and pull it across a block of beeswax while pressing down firmly with your palm. Do this quickly, creating a little heat through friction. Repeat four or five times until the thread has a nice, even coating. Waxing your thread makes it stronger, reduces fraying, and helps it glide more smoothly through the skin. It also smells good — a small gift to your senses during long hours of stitching.
F. Closing Thoughts
The Viking Bedroll is nearly finished now.
I’ve stitched for hours on the floor of our children’s room — the only space large enough to lay out eight sheepskins side by side. The kids tolerated it with surprising patience, dodging fur and thread, while the cat made herself at home on the unfinished blanket. The dog tried too, but was less welcome. Music played, coffee was poured, and the rhythm of sewing set in.
What surprised me most is how natural it began to feel. I had made mistakes before — seams tearing, thread slicing through thin hide — and I’d abandoned a few smaller projects along the way. But with this one, something clicked. The fear of ruining fur faded. I learned to trust my hands and eye, to cut boldly when needed, and to leave perfectionism waiting at the door with a cup of coffee.
I look at the nearly-finished blanket now and feel a sense of calm readiness. I know we’ll sleep warm this winter. And I know I’ll make more — Mukluks, perhaps next. This project taught me not just a skill, but a mindset. One stitch at a time.
To anyone standing at the start of a project like this and feeling intimidated: don’t worry. The blanket looks big, but the work is simple and satisfying. It’s a perfect way to learn. And once you’ve stitched several meters of sheepskin seams by hand, you’ll never be afraid of fur again.
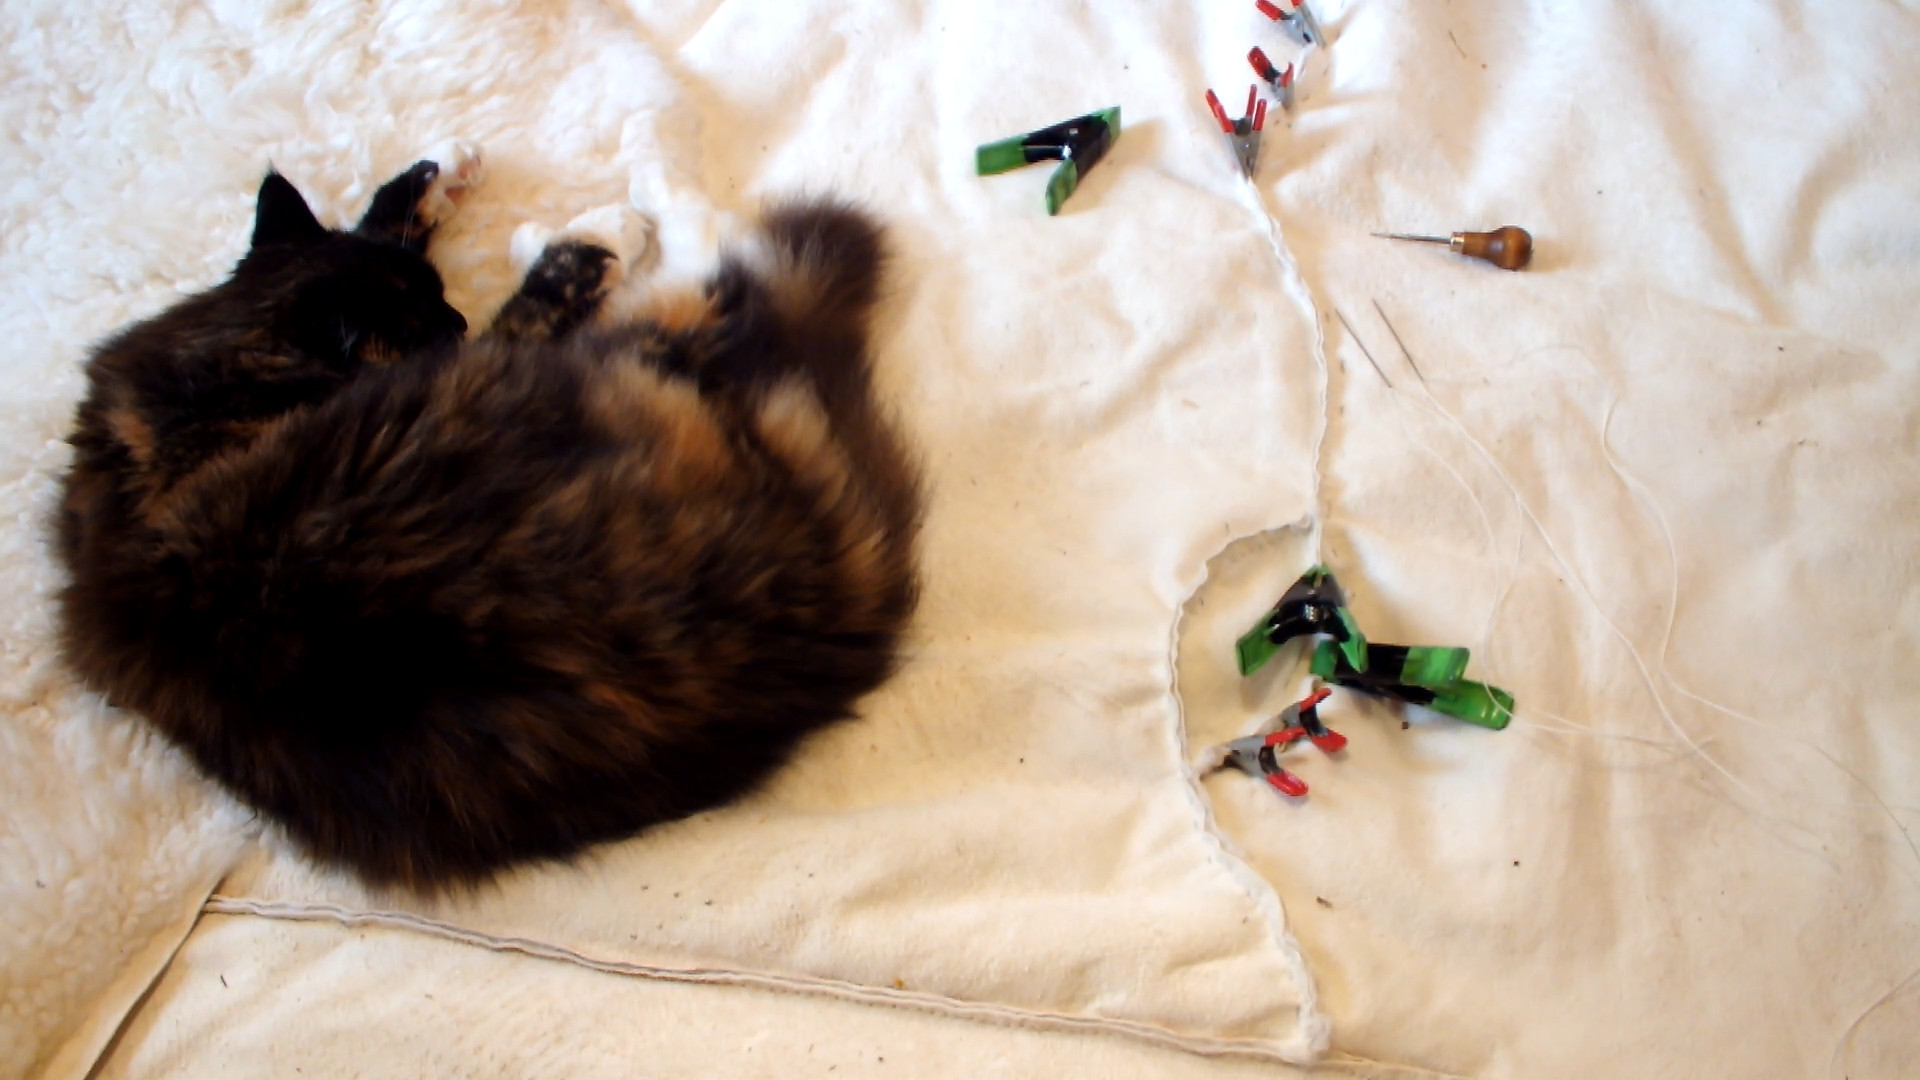
Purr, purr, purr.
🐑 Winter Update
A few weeks of use as the nights grow colder
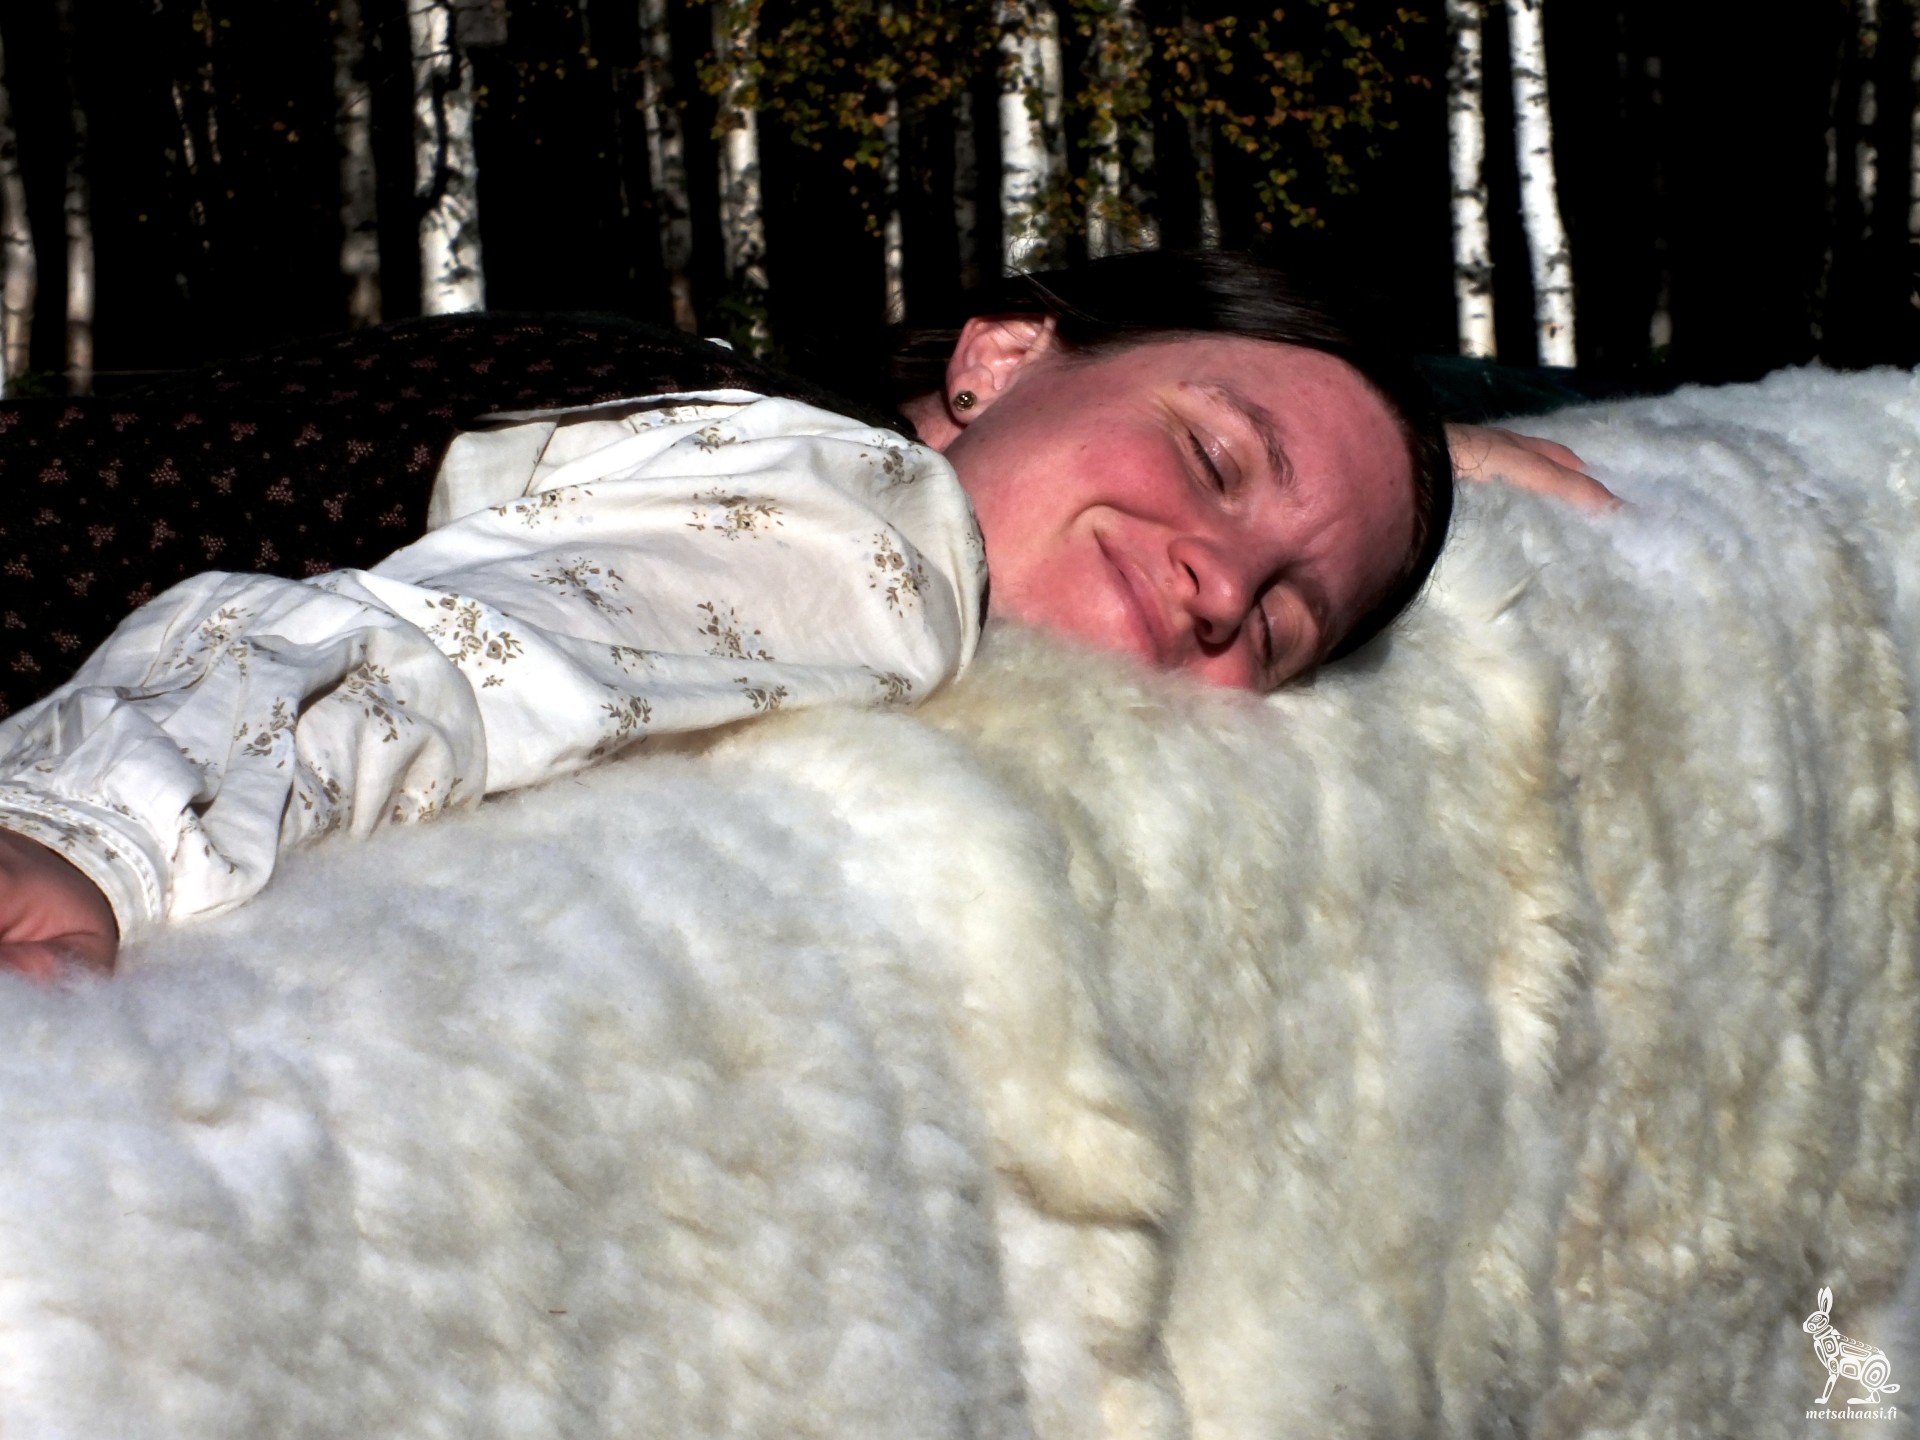
The Viking Bedroll isn’t soft in the way we expect from modern blankets — it doesn’t melt over you like a down quilt. Instead, it encloses you. The stiff leather holds its own shape and forms a kind of shell around the body. It carries its weight like armor or a tent skin, channeling most of it down into the mattress rather than pressing heavily on top of you.
It’s a protective cocoon — heavy, but not oppressive.
Deeply comforting in a primal way — like curling up beneath the belly of a furry beast, or inside a fur-lined cave.
And for cold northern nights,
that’s probably the best kind of shelter.